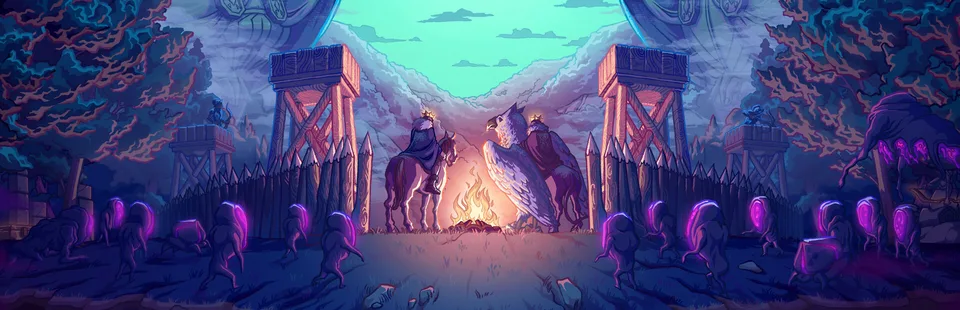
Kingdom Two Crowns Dead Lands: Ultimate Strategy Guide
Master the Kingdom Two Crowns Dead Lands expansion with our expert guide. Discover new mounts, monarchs, and survival tips for the dark gothic lands.
Published: Kingdom Two Crowns Wiki Editorial Team
Video Guide
Kingdom Two Crowns Tips - Dead LandsTable of Contents
The dark, gothic realms of the Kingdom Two Crowns Dead Lands expansion offer a hauntingly beautiful challenge for even the most seasoned monarchs. Whether you are a veteran of the series or a newcomer drawn by the unique aesthetic of this Bloodstained: Ritual of the Night crossover, mastering the mechanics of this DLC is essential for survival.
Understanding the nuances of the Kingdom Two Crowns Dead Lands campaign is vital because it introduces specialized monarchs and mounts that completely shift your defensive and exploration strategies. In this guide, we will break down everything you need to know to thrive in these unforgiving lands.
Understanding the Dead Lands Mechanics
Unlike the base game, the Dead Lands campaign forces you to adapt to a darker atmosphere where every coin and gem counts. The core gameplay loop remains rooted in strategy and resource management, but the introduction of unique character abilities changes how you interact with the Greed.
The expansion requires the base game to function, and it is crucial to recognize that the content here is distinct from other campaigns. You aren't just playing a reskin; you are managing a kingdom with different priorities and specialized units.
Key Differences at a Glance
Feature
Base Game
Dead Lands Campaign
Monarchs
Standard/Customizable
Four unique characters with active powers
Mounts
Standard horses/animals
Mythic mounts (Beetle, Golem, Demon Horse)
Atmosphere
Classic Kingdom
Gothic horror, dark, moody visuals
Wildlife
Deer/Bunnies
Chickens/Unique entities
Mastering the New Monarchs
One of the most significant additions is the ability to swap between four powerful rulers. Each monarch brings a unique active ability that can be toggled using the special action key. According to community feedback, choosing the right monarch based on your current island progress is the key to a successful run.
Monarch Ability Overview
Miriam: The Shardbinder uses an ice whip to freeze Greed, providing excellent defensive utility in the early game.
Gebel: Transforms into a bat, allowing for rapid traversal across the map—a lifesaver during winter.
Alfred: Creates a clone of himself and his mount, which is best utilized for doubling resource generation or defensive traps.
Sangetsu: Buffs nearby troops, significantly increasing the effectiveness of your archers and catapults during Blood Moon attacks.
Tip
Switching Monarchs
You can swap your current monarch by paying 5 coins at the stained-glass mural, provided you have reached the stone technology stage. Don't be afraid to change rulers as your needs shift from exploration to defense.
Top-Tier Mounts for Survival
Your choice of mount in the Dead Lands campaign dictates your mobility and defensive capability. While the base game favorites like the Stag are still available, the new mounts introduce mechanics that can turn the tide of a losing battle.
Mount Performance Comparison
Mount
Special Ability
Best Use Case
Gammage (Demon Horse)
Charge Attack
Pushing back Greed during wall defense
Golem
Root Barrier
Creating temporary walls to protect your troops
Beetle
Lava Trap
Area denial and slowing down waves of Greed
The Golem is widely considered a top-tier defensive mount by many players. By placing three root walls in front of your defenses, you create a buffer that allows your archers to pick off attackers without your primary walls taking damage.
Defensive Strategies for Blood Moons
Surviving the Blood Moon in the Dead Lands requires more than just high walls; it requires active management of your monarch's power. Community reports suggest that combining Sangetsu with the Lizard mount (from the base game) provides the most consistent defense against late-game waves.
Step-by-Step Defense Plan
Preparation: Ensure your archers are fully upgraded before the nightfall.
Positioning: Use your mount's special ability (e.g., Golem’s roots) at the edge of your walls.
Active Buffing: Activate Sangetsu’s buff just as the first wave of Greed hits your barrier.
Reaction: If a wall begins to crack, use your monarch's secondary ability to stall the attackers while your troops regroup.
[!WARNING]
Avoid Over-Expansion
Expanding too quickly without sufficient archers is a common mistake. If your walls are too far from the center, your troops will be spread thin, making it impossible to defend against multiple portals.
FAQ: Kingdom Two Crowns Dead Lands
Do I need to buy the base game to play Dead Lands?
Yes, the Dead Lands campaign is an expansion that requires the base game, Kingdom Two Crowns, to function on your platform.
Which monarch is best for beginners?
Miriam is generally considered the best for beginners. Her ice whip ability is easy to use and provides immediate defensive benefits, allowing you to survive waves while you learn the economy.
Can I use mounts from the base game in Dead Lands?
Absolutely! While the expansion introduces unique mounts, you can still find and utilize classic mounts like the Stag and the Unicorn throughout the islands.
Does the Dead Lands campaign affect the main Kingdom Two Crowns save files?
No, the campaign acts as an additional mode. Your progress in the main game remains separate from your adventures in the Dead Lands.
By following these strategies, you will be well-equipped to face the darkness and build a kingdom that stands the test of time. Remember, in this game, nothing lasts forever—so make every coin and every defensive decision count!