Kingdom Two Crowns Dead Lands Monarchs Guide: Master Every Ability
Discover how to master Kingdom Two Crowns Dead Lands monarchs and mounts. Learn expert tips for every character ability and optimize your kingdom defense today.
Published: Kingdom Two Crowns Wiki Editorial Team
Video Guide
Dead Lands Monarchs | Kingdom Two CrownsTable of Contents
Introduction to the Dead Lands Expansion
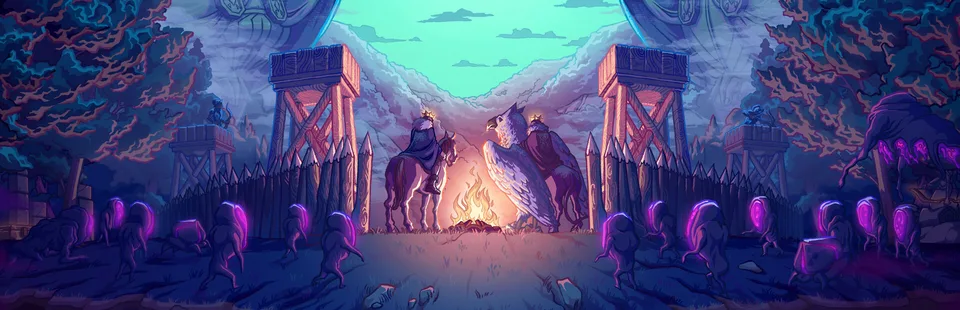
The Kingdom Two Crowns world has grown significantly darker with the introduction of the Dead Lands update. This expansion isn't just a visual overhaul; it introduces a complex layer of strategy by allowing players to switch between four distinct monarchs, each hailing from the gothic horror world of Bloodstained: Ritual of the Night. Understanding how to effectively utilize these Kingdom Two Crowns Dead Lands monarchs is essential for any player looking to survive the increasingly difficult Blood Moon waves and expand their domain across the mystical, gloomy islands.
Mastering these characters is vital because each monarch brings a unique ability that can fundamentally change your defensive and economic strategies. Whether you are struggling to manage your gold flow or finding it impossible to fend off armored breeders, choosing the right leader is the difference between a thriving empire and total collapse.
The Four Monarchs of Dead Lands
In Kingdom Two Crowns, you start the Dead Lands campaign as Miriam. As you progress, you unlock the ability to swap between four unique characters at the stained-glass mural located within your stone-walled kingdom. Each character requires a specific cost to unlock and another to swap, making resource management a core part of the experience.
Character Ability Overview
Monarch
Primary Ability
Best Use Case
Miriam
Ice Whip (Freezes Greed)
Early-game defense & crowd control
Zangetsu
Rally (Attack Speed Buff)
Portal destruction & Blood Moons
Alfred
Clone (Duplicate self/mount)
Economic scaling & distraction
Gebel
Bat Form (Flight/Mobility)
Rapid exploration & scouting
Why Miriam is Your Best Start
According to player experience, Miriam remains the most versatile monarch for new players. Her ice whip ability provides a crucial layer of crowd control by freezing enemies, which allows your archers to pick off targets without your wolves sustaining damage. When paired with the stag mount for early coin collection, Miriam allows you to build your economy rapidly in the first two islands.
New Mounts: Strategy and Synergy
The Dead Lands update introduces three unique mounts, each with distinct stamina pools and special abilities. Unlike the base game mounts, these creatures offer specialized utility that can shift the tide of battle.
Mount Statistics and Capabilities
Mount
Location
Special Ability
Stamina Source
Gammagean
Island 1
Charge Attack
Grass & Dirt
Golem
Island 3
Root Wall (10 HP)
Grass Only
Beetle
Island 4
Larva Trap
Grass Only
Tip
Optimize Your Mount Choice
While the Golem is incredibly slow, its ability to place three walls—which can be stacked in the same spot for 30 HP—makes it the best defensive choice for high-difficulty Blood Moon waves.
Tactical Synergy: Pairing Monarchs with Mounts
Success in Kingdom Two Crowns relies on understanding how your chosen monarch interacts with your mount. Community reports suggest that combining Zangetsu with the lizard mount (or the beetle) creates a powerhouse defense. Zangetsu’s rally ability increases the attack speed of your units, including those manning catapults and ballistas, which drastically reduces the time it takes to destroy portals.
Effective Combinations for Late Game
Zangetsu + Lizard: Use the rally ability to speed up archer fire while the lizard’s fire trail protects your walls.
Alfred + Unicorn: Clone yourself before grazing to maximize your coin output from the unicorn’s ability.
Miriam + Golem: Freeze the Greed while your root walls absorb damage, ensuring your troops remain safe.
Understanding the Mechanics of the Stained-Glass Mural
To switch between the Kingdom Two Crowns Dead Lands monarchs, you must locate the stained-glass mural. This structure only appears once you have upgraded to stone technology and expanded your kingdom sufficiently. Swapping characters costs 5 coins.
It is important to remember that the mural cycles through all unlocked monarchs. If you are struggling with a specific island, don't be afraid to pay the coin cost to switch to a more defensive character like Zangetsu to clear a difficult portal.
Frequently Asked Questions (FAQ)
How do I unlock new monarchs in the Dead Lands update?
You must find the monarch in a cage on the island. Pay 12 coins to have your archers shoot down the cage. Once freed, pay 3 coins to select them as your active monarch.
Which of the Kingdom Two Crowns Dead Lands monarchs is best for beginners?
Miriam is widely considered the best for beginners due to her ice whip ability, which provides excellent crowd control and helps protect your units from taking damage during early-game waves.
Can the Golem’s root walls block my own archers?
Yes. Be careful when placing root walls. While they provide excellent protection against the Greed, placing them too close to your archers may block their line of sight, preventing them from attacking effectively.
Where can I find more tips on the game?
For in-depth mechanics and official updates, always refer to the Kingdom Two Crowns Steam Store Page. Engaging with the community on forums is also a great way to discover new strategies for the Dead Lands campaign.